How to Set Up Squarespace with Bookkeep
To start using Bookkeep's automated journal entries for Squarespace, you need to connect the Squarespace account where you want to import your data. Follow the steps below to complete the setup process.
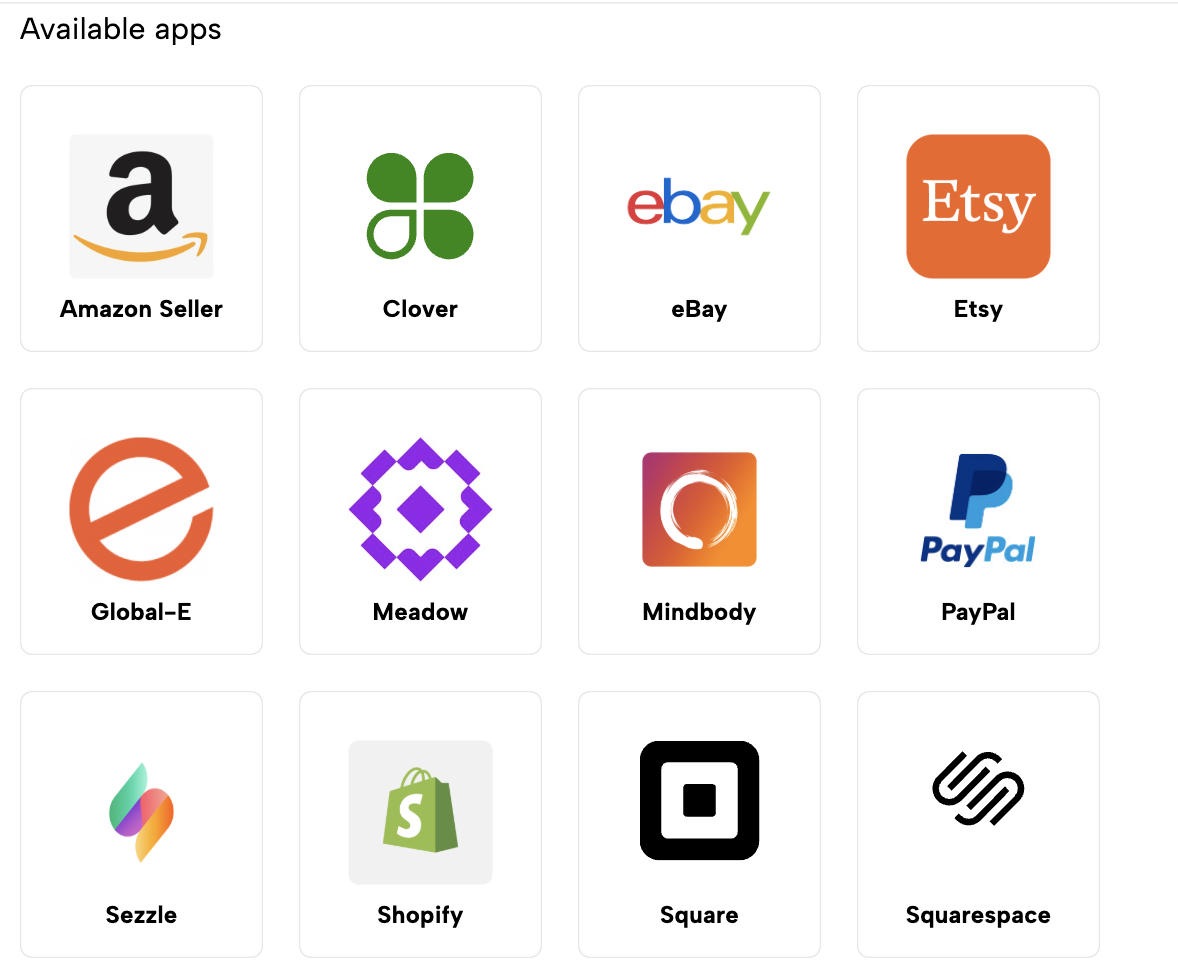
1. Add Squarespace App
Go to Connections → Available Apps, then locate and click the Squarespace button to begin the installation.\
2. Connect to Squarespace
Clicking on Squarespace will take you to the connection screen. If you don’t have store credentials, you can invite the store owner to connect for you, which will send them an email. If you have the login credentials, click Connect Now.

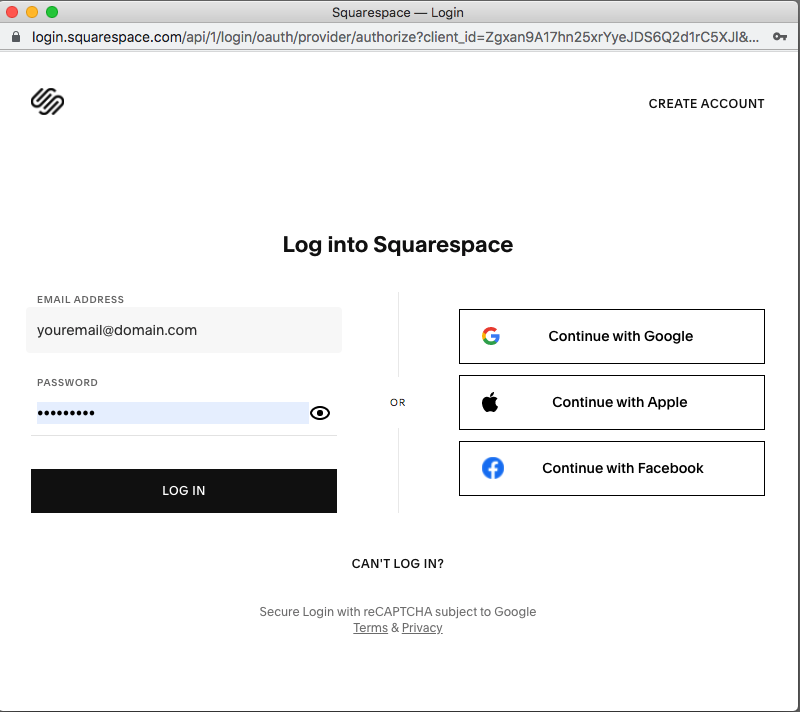
3. Log in to Squarespace
If you chose Connect Now, a new window will appear prompting you to log in to your Squarespace account.
4. Confirm Connection
Once you’ve logged in and granted access to Bookkeep, your Squarespace account will appear connected in the Connections → Apps listing.
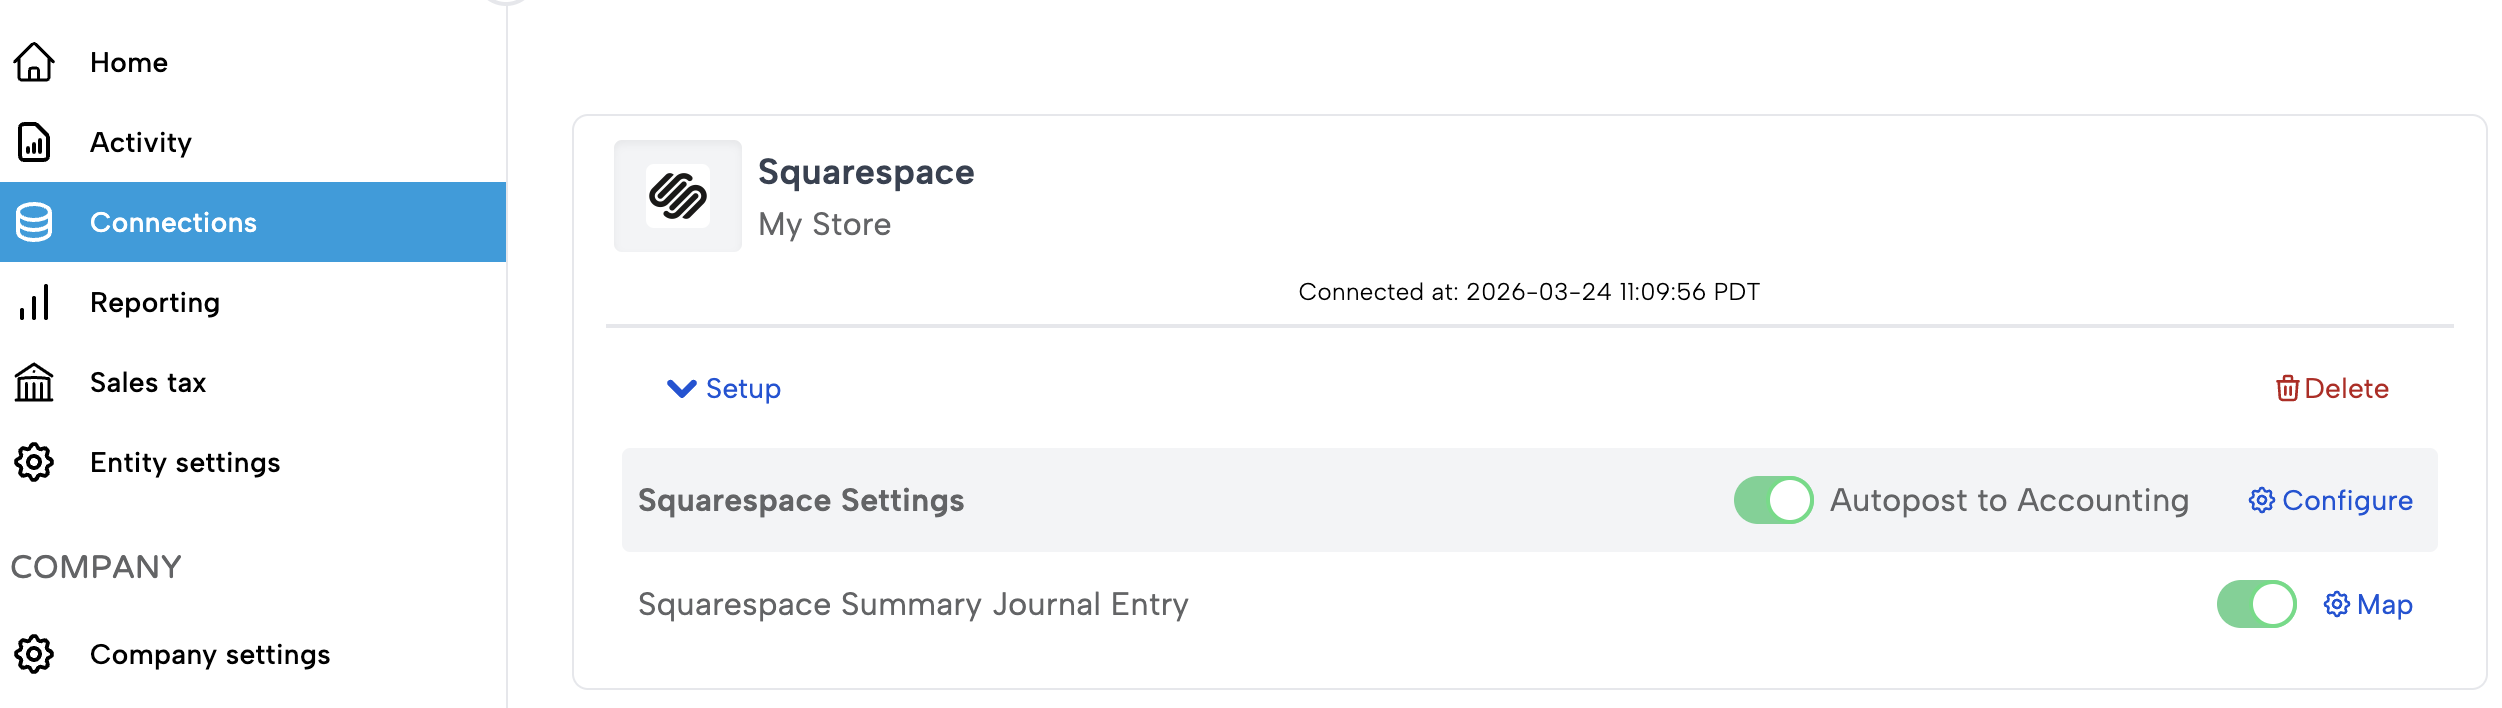
5. Map Your Accounts
With your Squarespace account connected, map your transactions to the corresponding accounts in your accounting platform (e.g., QuickBooks Online).
-
Go to the Connections tab and click Setup to expand the dropdown.
-
Click Map for the journal entry template you want to configure.
-
After completing the mappings, turn each desired journal entry ON. This will activate a daily journal entry for that template.
Bookkeep offers a Sales Summary daily journal entry to automatically record Squarespace sales in your accounting platform.
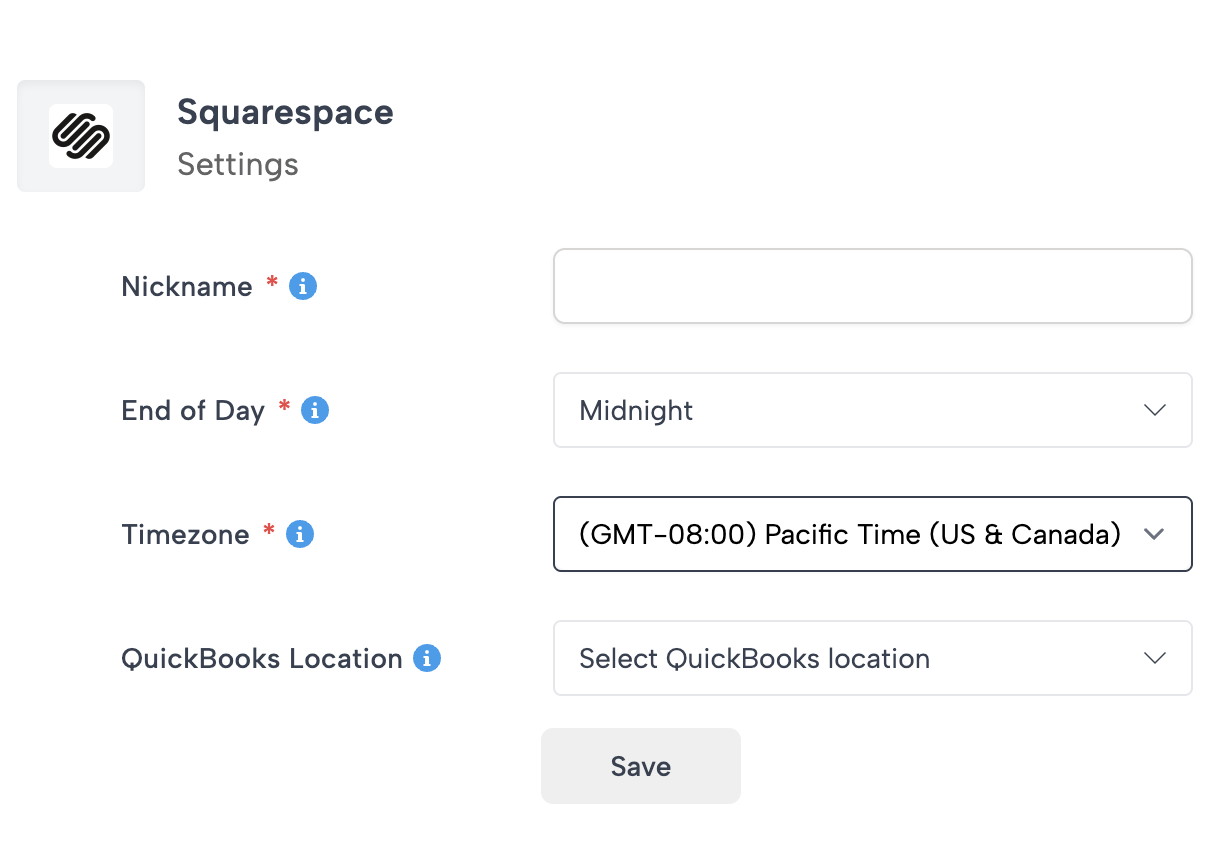
6. Configure Settings
From the Connections view, click Configure to:
- Select the correct timezone and end-of-day for the Squarespace account.
This ensures journal entries are generated for the correct orders for each day.
7. Activate Journal Entries
After mapping the necessary templates and turning them ON, journal entries will begin posting to your accounting platform the following day. You can also post historical data if you are catching up on prior accounting periods.
If you have any questions or need assistance, please contact support@bookkeep.com.