How to Connect Your Toast Locations to Bookkeep
This article explains how to connect your Toast restaurant locations to Bookkeep for automated accounting.
Before You Begin
To connect Toast with Bookkeep, you must:
-
Have an active Bookkeep account
-
Have access to the Toast Merchant Dashboard
-
Be subscribed to the Restaurant Management Suite in Toast.
For details on Toast’s integration setup requirements and access, see Toast’s official guide: Toast Partner Connect: Setting Up Integrations with Toast.
Step 1 — Log In to the Toast Merchant Dashboard
Sign in to your Toast Merchant Dashboard using your Toast credentials.
You can find a link to the dashboard by locating Toast on the Available apps tab in your Bookkeep account:

Step 2 — Navigate to Integrations
In Toast Web:
-
Go to Integrations
-
Choose Integration Management
-
Click Browse & Purchase Integrations
This opens the Toast Partner Connect portal, where you can find Bookkeep and other partners.
Step 3 — Find the Bookkeep Partner Tile
-
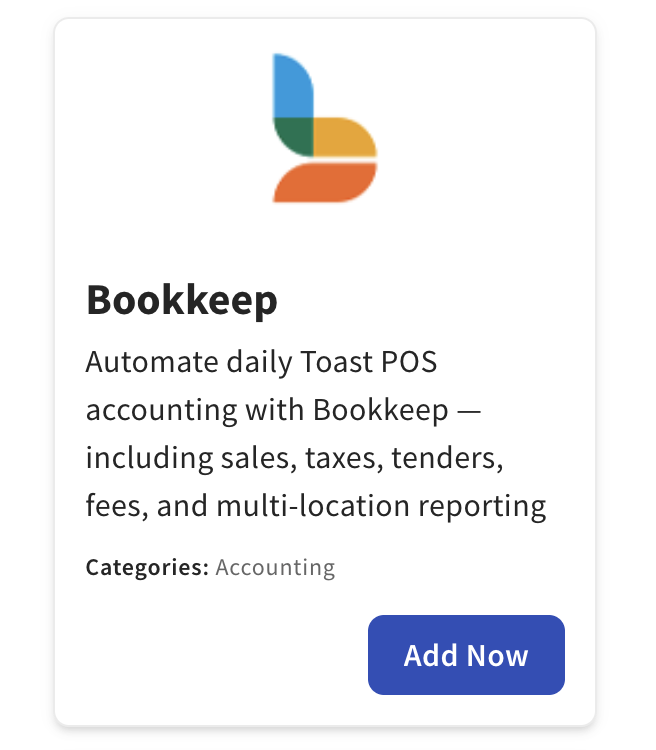
Use the search bar or scroll to locate the Bookkeep partner tile.
-
The tile represents Bookkeep’s integration in the Toast Partner Marketplace.

Step 4 — Click “Add Now”
-
Click “Add Now” on the Bookkeep partner tile.
-
Choose the locations you want to connect with Bookkeep.
-
Confirm your selection.
This action tells Toast you want to enable Bookkeep for the selected locations. Toast then notifies Bookkeep that the integration is pending.
Step 5 — Bookkeep Links Your Locations
After Toast sends the partner notification:
-
Bookkeep receives the message that the Toast locations are ready to be connected
-
Our team will link the selected locations to your existing Bookkeep account
-
No additional action is required from you at this step
Step 6 — Confirmation
Once the linking is complete:
-
Bookkeep will contact you to confirm the connection
-
You can then proceed with any required setup steps in Bookkeep
Need Help?
If you have questions after clicking Add Now in Toast or encounter issues with the connection process, contact:
Our team is happy to assist you.