How to Setup Square with Bookkeep
How to Connect Square to Begin Your Daily Accounting Automation
To connect third-party applications like Square, follow these steps:
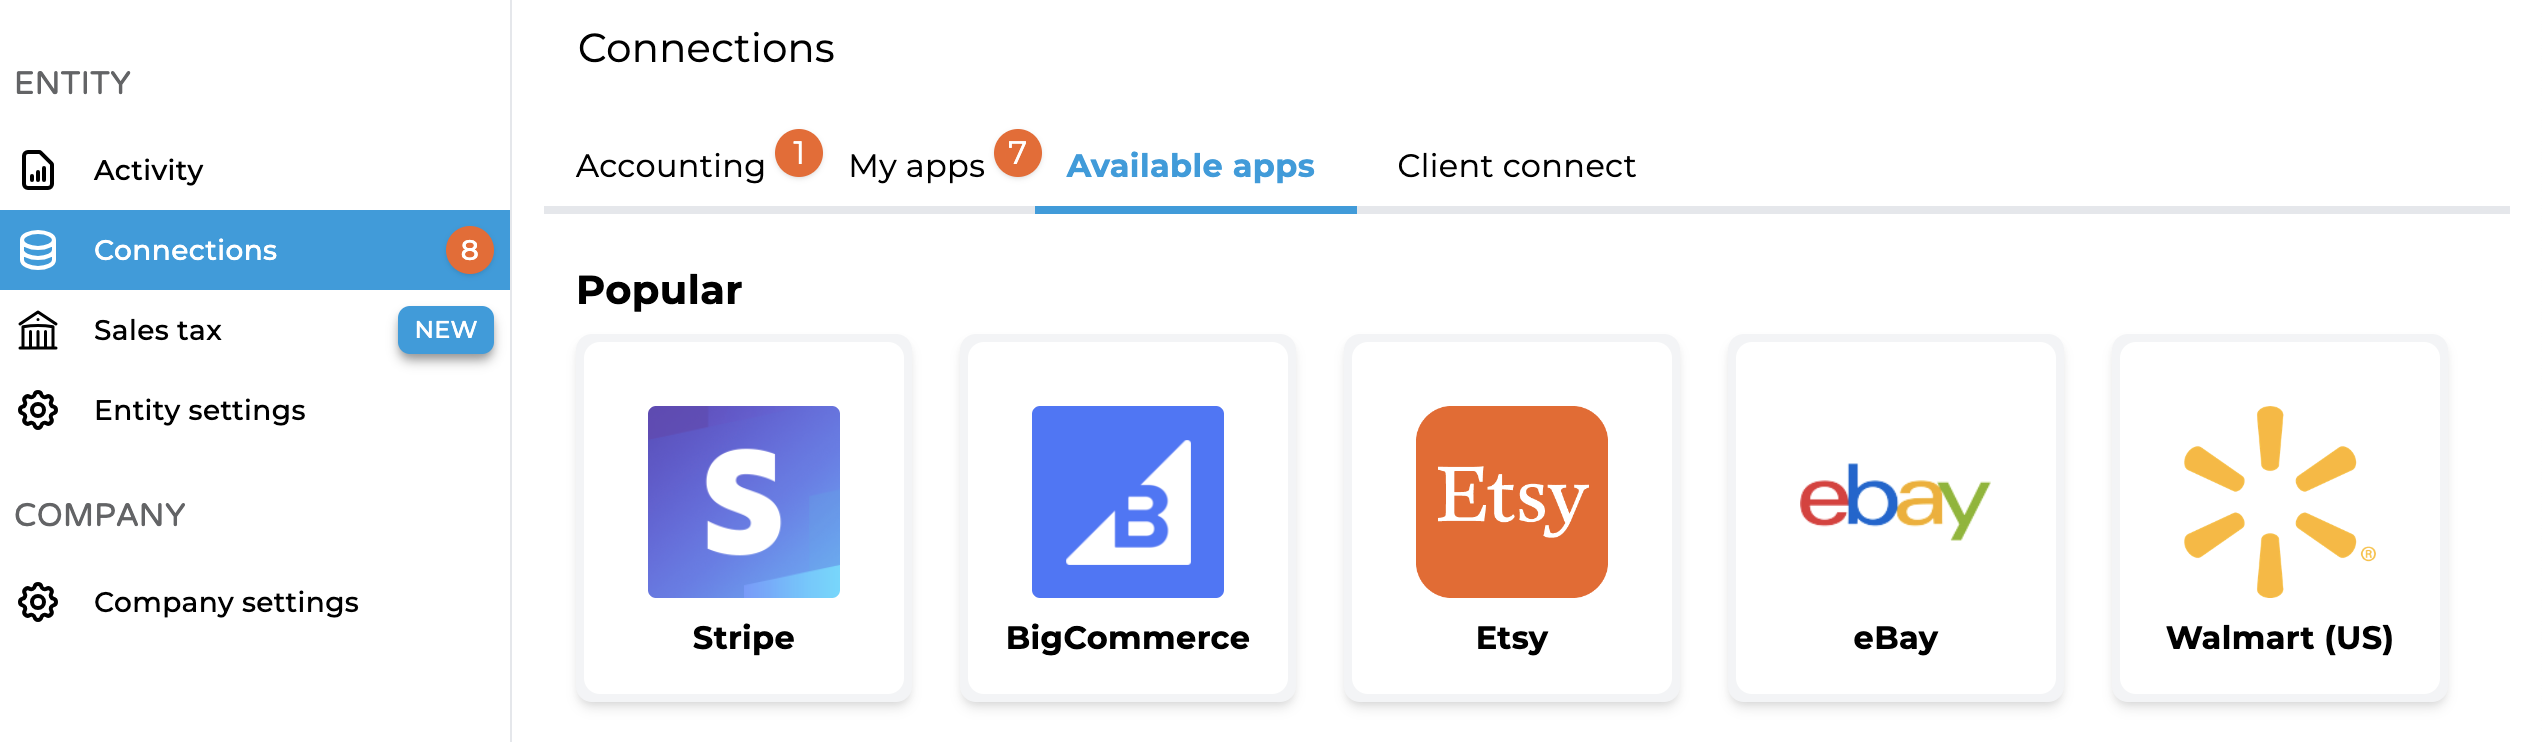
1. Add Square App
To start the installation process, first go to Connections -> Available apps then find and click the Square button.
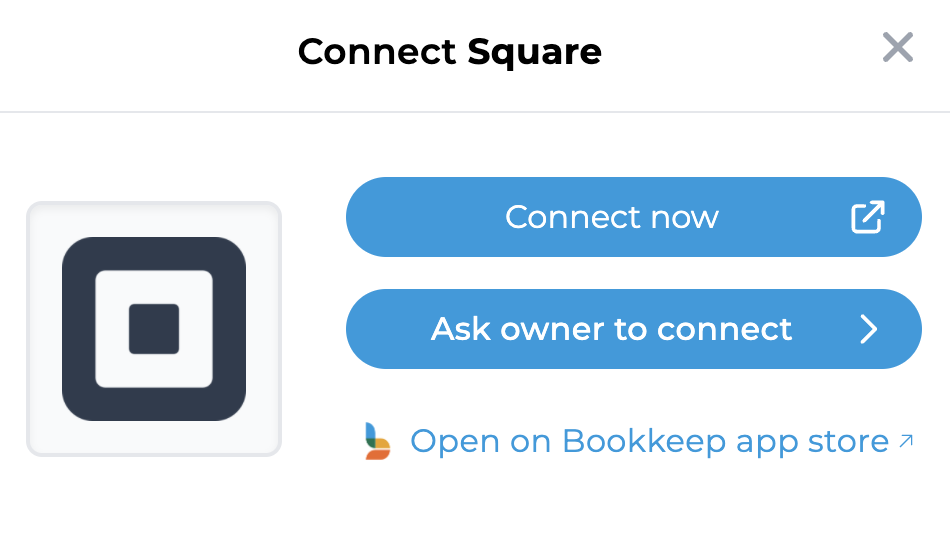
2. Choose Connection Method
Once Square is selected, our Square integration will present you with the option to "Connect Now" (via login credentials in a new browser window if you have the username and password) or "Ask owner to connect" (via email sent to the owner to connect).
For more information on sending owner invitations, please review our Inviting owner to connect knowledge base article.
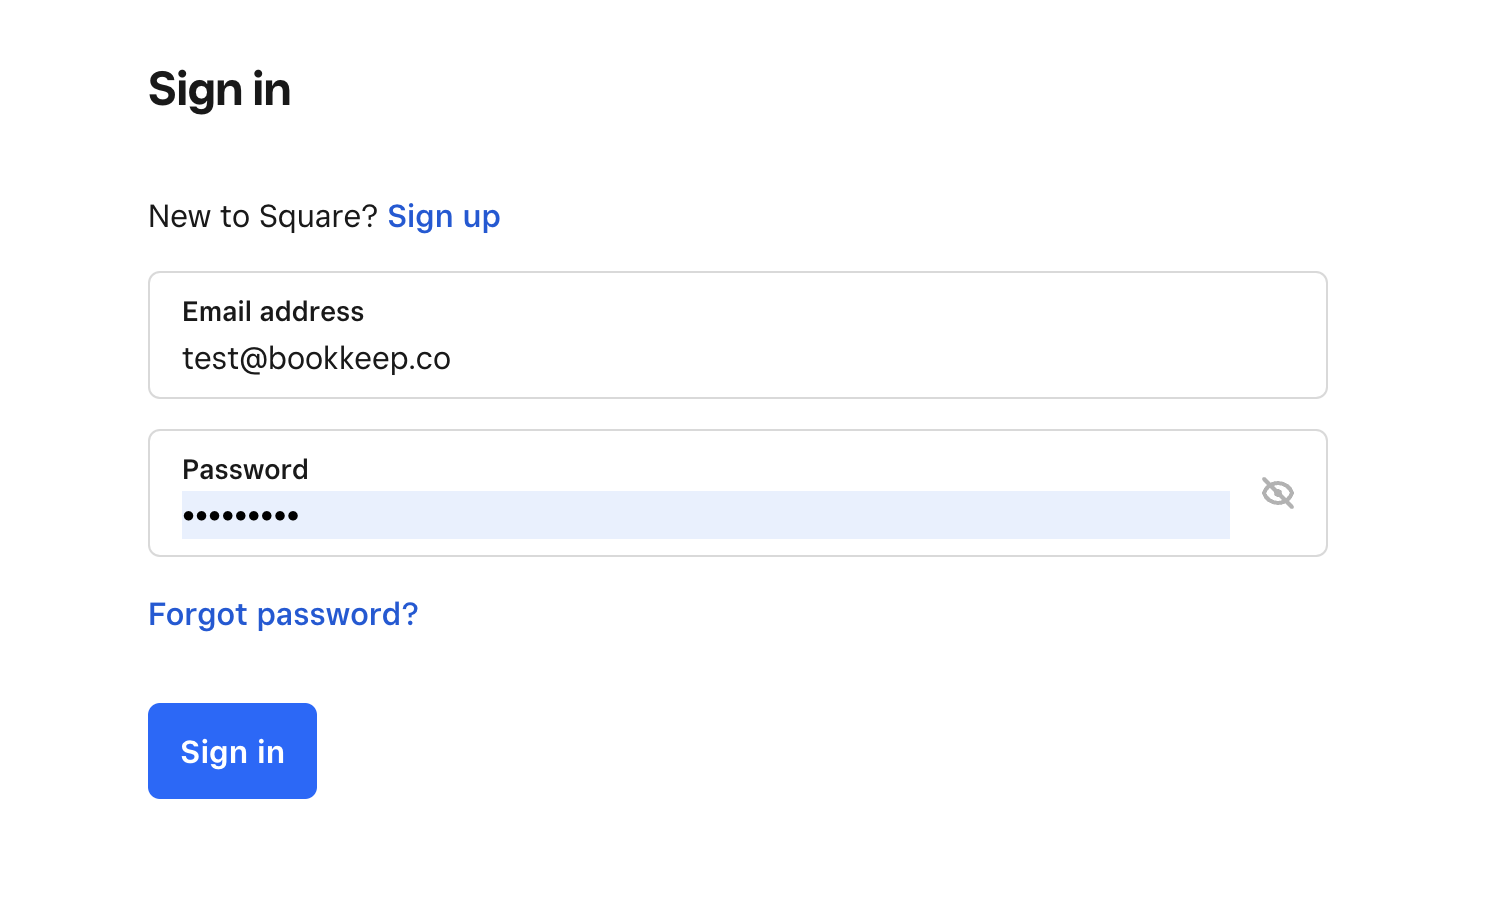
4. Log into Square
If you have the email address and password for the Square account, you can click "Connect Now" to log into your account as shown below:
5. Automatic Location Connections
After connecting, Bookkeep will automatically create a separate Square connection for each active location from your Square account. This eliminates the need to re-login to Square for each location and allows you to map each Square location to different charts of accounts for better reporting.
See below for a video of the connection process:
Completing Your Square Connection
1. Confirm Connection
After completing your Square connection, it will be visible on your Connections page, and you'll be ready to map your accounts from your accounting platform (assuming you have connected your accounting platform).

2. Setup Mapping
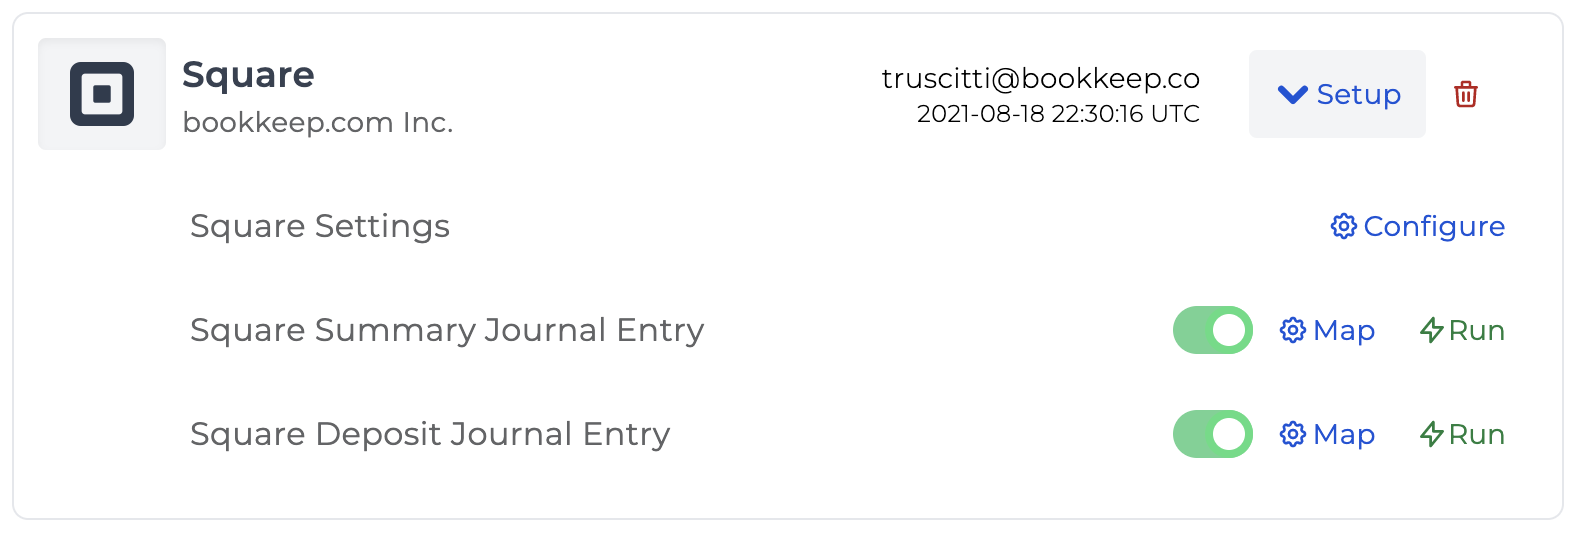
To complete the mapping to your accounting platform accounts, click "Setup" from the Connections/Apps view.

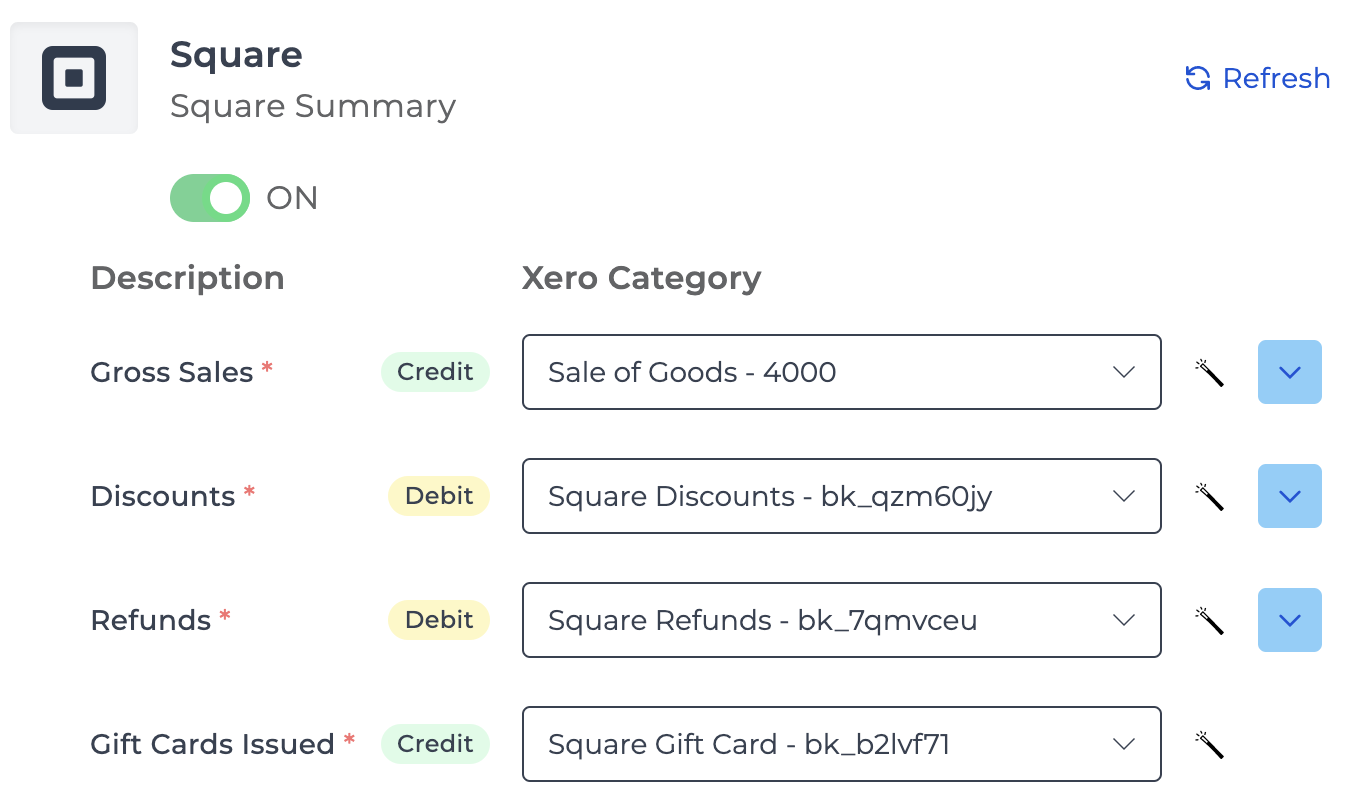
Square Summary Mapping
This journal entry posts the previous day's sales as one summarized
entry. Click "Map" (as shown in the image above) to select specific
accounts from your accounting platform. Click "Refresh" to pull in
the latest accounts if you made recent changes. The magic wand icon
will create an account in your accounting platform if needed.
3. Enable Daily Posting
After completing the mapping, set the journal entry to ON, which
will start posting a daily journal entry beginning the next day.

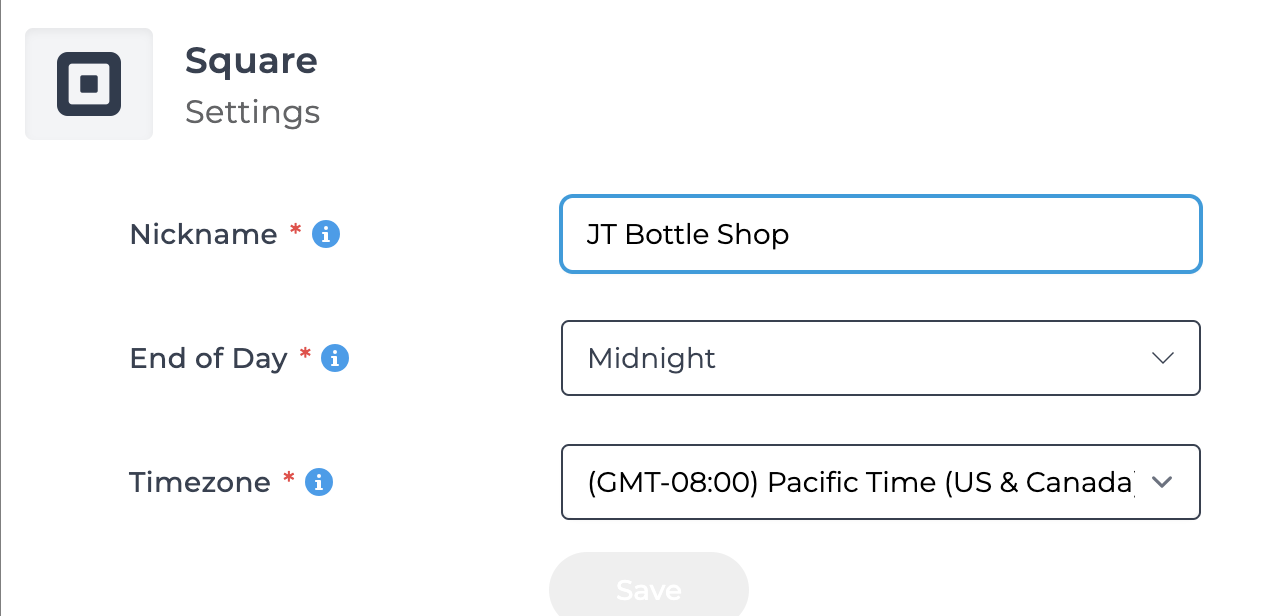
4. Configure End of Day Settings and Time Zone
In the Connections view dropdown, click "Configure" to select the correct time zone and end of day for the connected Square account.
Ensure correct time period to be sure we are retrieving the correct order and deposit data for that time period:
Square Deposit Mapping
You can also map the Square deposit journal entry, which posts each deposit and any associated fees to your accounting platform. For more information on Square entries, visit here.
Below is an example mapping for the Square deposit financial syncing:

Finalize
Once you have mapped the necessary journal entry templates and turned them ON, you are ready to go! You will see journal entries begin posting to your accounting platform the next day, or you can start posting historical data if you are catching up on your accounting. To learn more about importing historical data, visit here.
Start your free 14-day trial of Bookkeep and see how easy it is to post Square summaries to your accounting platform. If you have any questions, please contact support@bookkeep.com.